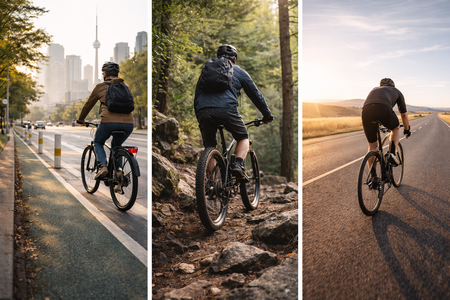
Making the Switch: How Road Cyclists Can Master Gravel Riding
Making the Switch: How Road Cyclists Can Master Gravel Riding isn’t about abandoning speed or fitness—it’s about expanding where (and how) you ride. If you’re a dedicated road rider curious about dirt roads, rail trails, and backcountry connectors, road to gravel cycling can feel like a new sport at first. The good news: your road engine already does most of the work. With the right mindset, a smart setup, and a few key gravel riding techniques, you’ll be confidently drifting through corners and floating over washboard in no time.
Below is a practical guide to switching to gravel bike riding—from choosing the right platform to dialing in tire pressure, handling loose surfaces, and planning fuel for longer, more remote adventures.
Why Road Riders Are Upgrading to Gravel
Gravel is booming because it solves a common road-cycling problem: limited route variety. In many areas, paved roads are busier than ever, while gravel networks and mixed-surface paths offer quieter, more scenic riding. For road cyclists, upgrading to gravel opens up:
- More routes, fewer cars: Farm roads, forest access tracks, canals, and multi-use trails.
- Adventure without extreme risk: You can push distance and exploration without committing to true MTB terrain.
- Training benefits: Variable traction and surfaces build handling skill, stability, and strength.
- All-weather versatility: Wider tires and stable geometry make imperfect conditions more manageable.
Think of gravel as road cycling’s adventurous cousin: still endurance-focused, but with a bigger toolbox.
Choosing Your First Gravel Setup: New Bike vs. Adapt What You Own
If you’re currently riding a dedicated road bike, you have two main paths: adapt your current ride (if tire clearance allows) or move to a purpose-built gravel bike. Both can work—your decision depends on terrain, budget, and how “gravel” your gravel will get.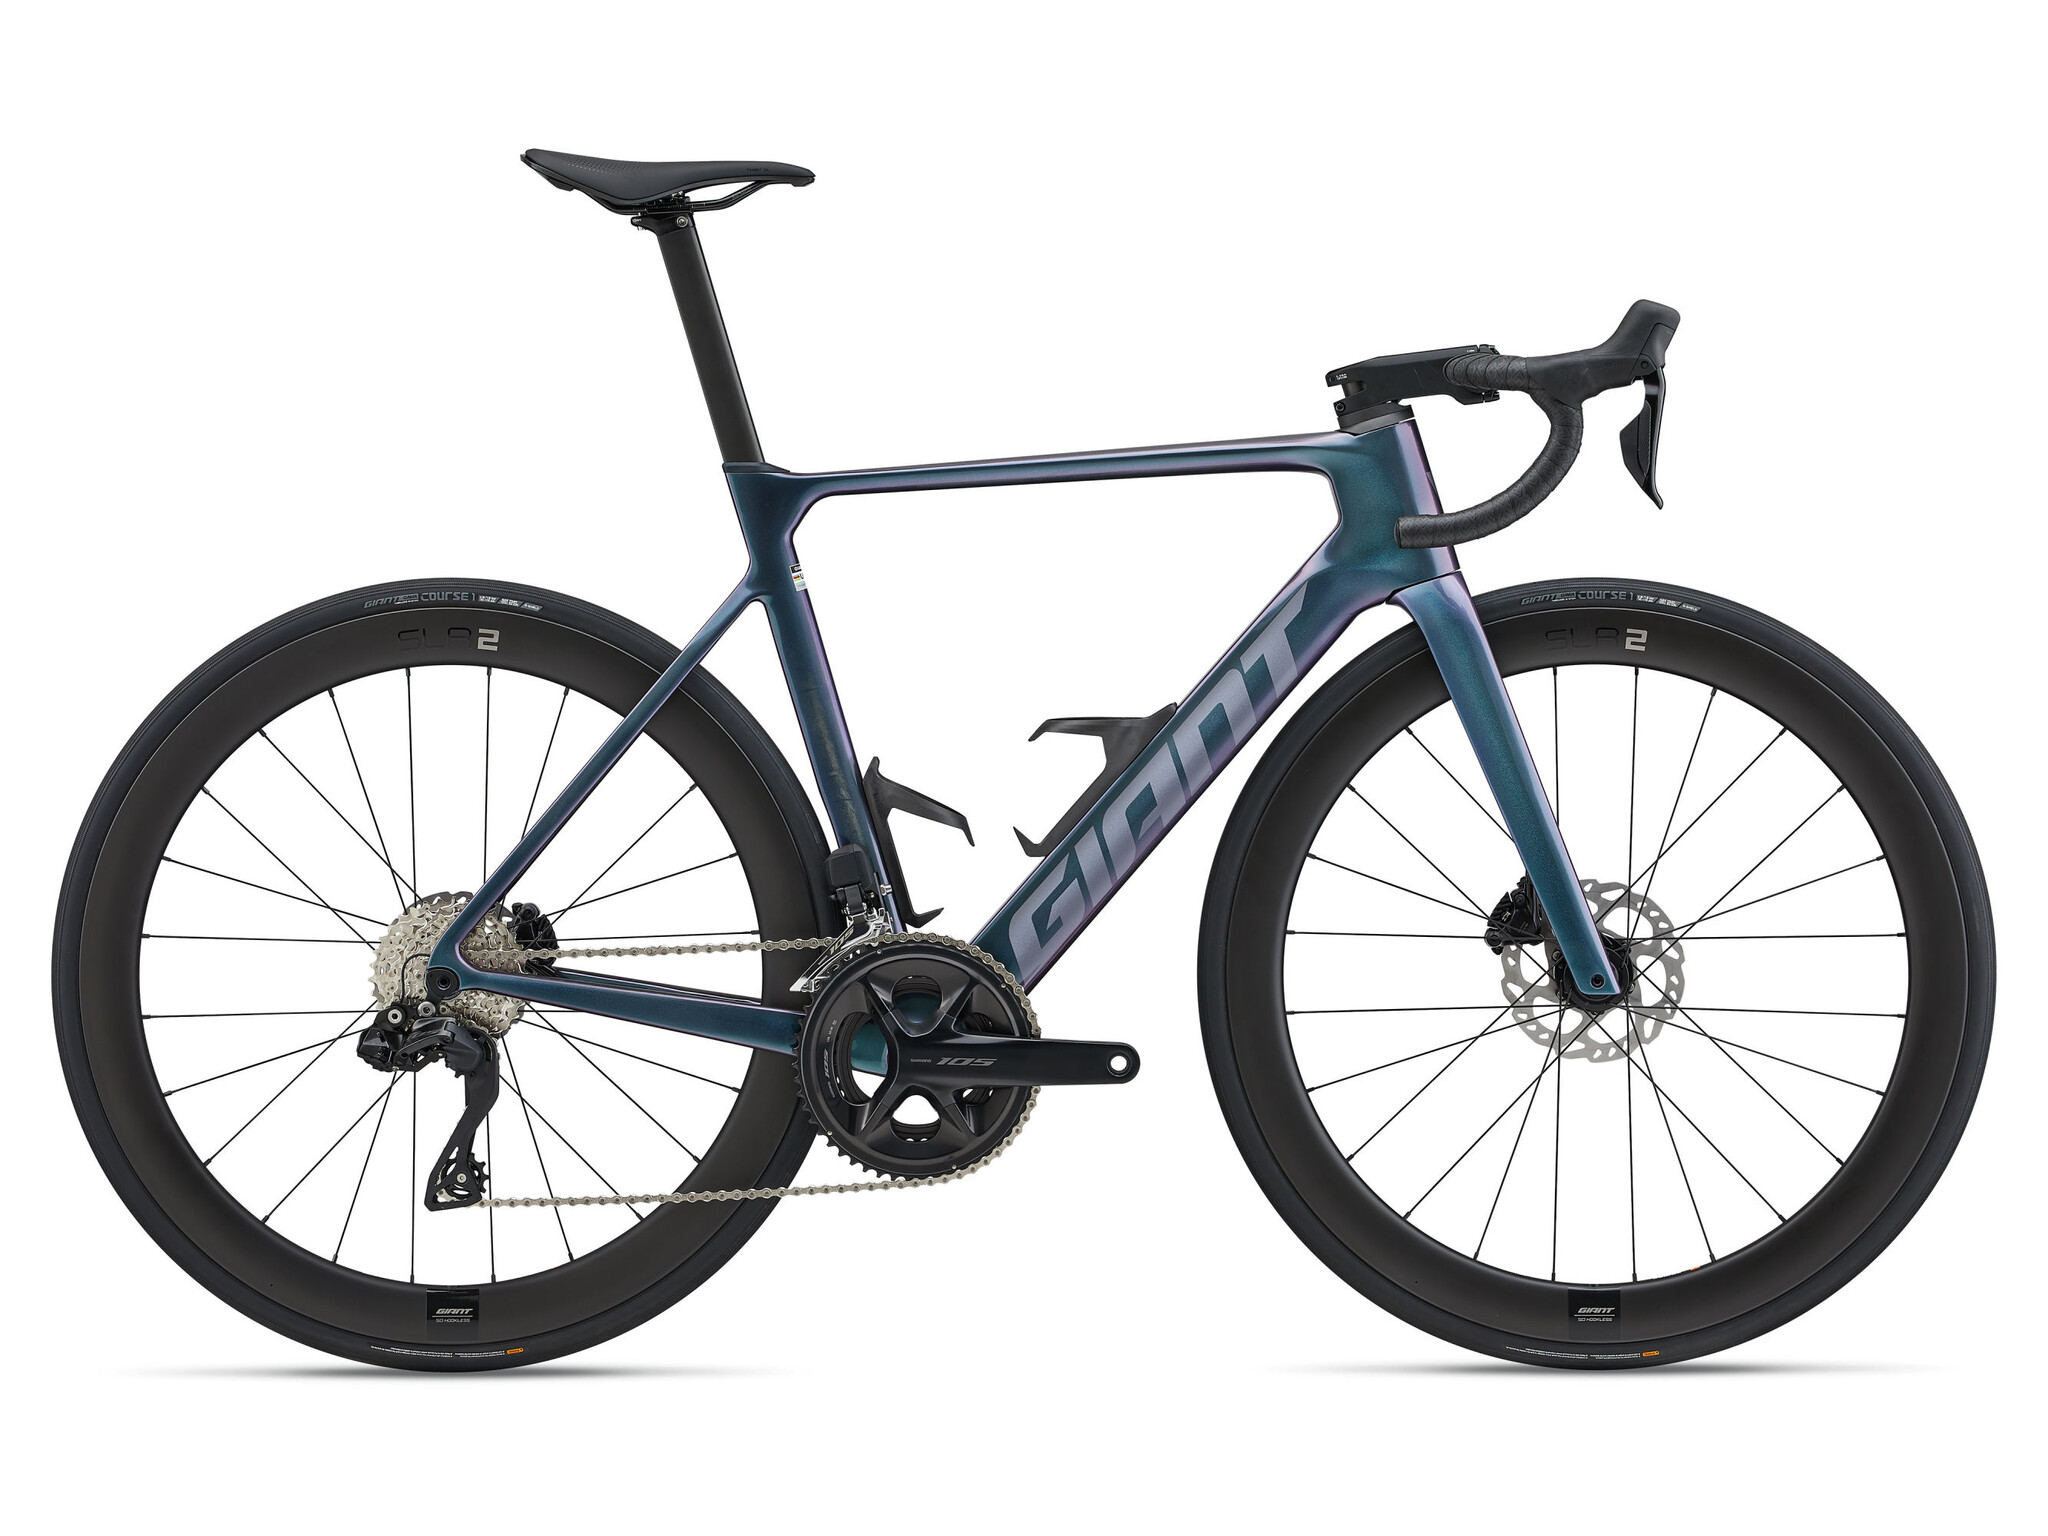
Option 1: Adapt a Road Bike for Light Gravel
Many modern endurance road frames can handle 30–35mm tires and occasional dirt. If your routes are mostly smooth gravel paths, hardpack, or well-groomed rail trails, adapting may be enough. The biggest limiter is tire clearance. If you can fit a wider tire safely (with mud clearance), you can dramatically improve comfort and control.
Option 2: Commit to a Gravel Bike for Mixed/Loose Terrain
If you want to ride chunkier gravel, washboard, loose corners, or longer adventures with bags, a gravel bike makes the experience calmer and faster. Key differences typically include:
- More tire clearance (often 40–50mm, sometimes more)
- Stability-focused geometry for control on descents
- Lower gearing for steep, loose climbs
- Mount points for extra bottles, racks, and bags
For riders who love the feel of endurance road bikes but want more capability, models like the Giant Defy Advanced Pro 1 and Specialized Roubaix Comp can be excellent “bridge” options—comfortable, efficient, and often more forgiving on rough roads compared to pure race bikes.
Gravel Bike Setup Tips That Make an Immediate Difference
The fastest way to feel confident when switching to gravel bike riding is to start with setup. Small changes can transform control, comfort, and puncture resistance.
1) Tires: Your Biggest Performance Upgrade
Tires are the #1 upgrade for gravel. If you only change one thing, change tires. Start by choosing the right width and tread for your terrain, then dial in pressure.
- Hardpack & smooth gravel: 35–40mm with a fast center tread
- Mixed conditions: 40–45mm with side knobs for cornering
- Loose, chunky, or sandy: 45mm+ with more volume and bite
Browse purpose-built gravel tires to match your local surfaces. The right tread pattern reduces washouts and helps you brake and corner with confidence.
2) Pressure: Lower Than Road (But Not Guesswork)
Road riders often start gravel with too much pressure, which leads to skittering, harshness, and reduced traction. As a general starting point:
- Go lower than road and adjust in small steps.
- Heavier riders need more pressure; wider tires can run less.
- If you’re bouncing over washboard, pressure is likely too high.
Tip: If you’re using tubes, avoid going so low that you risk pinch flats. If you’re tubeless, you can often run lower pressures for more grip and comfort.
3) Gearing: Spin to Win on Loose Climbs
On the road, standing and mashing can work. On gravel, torque can break traction. Lower gearing helps you stay seated and keep the rear wheel hooked up. If your climbs are steep or surfaces are loose, consider easier gearing as part of your long-term upgrading to gravel plan.
4) Cockpit Comfort: Bar Width, Tape, and Control
Gravel rewards stability. Many riders prefer slightly wider bars, flared drops, and extra bar tape padding. These changes reduce hand fatigue and improve control on rough descents—especially if you’re used to a narrow, race-oriented road setup.
5) Pedals and Shoes: Walkability Matters
If your riding includes hike-a-bike sections, cafe stops on dirt, or photo breaks off-trail, consider pedals and shoes designed for easier walking. Many gravel riders choose MTB-style clipless pedals for better mud-shedding and more practical shoes—without sacrificing pedaling efficiency.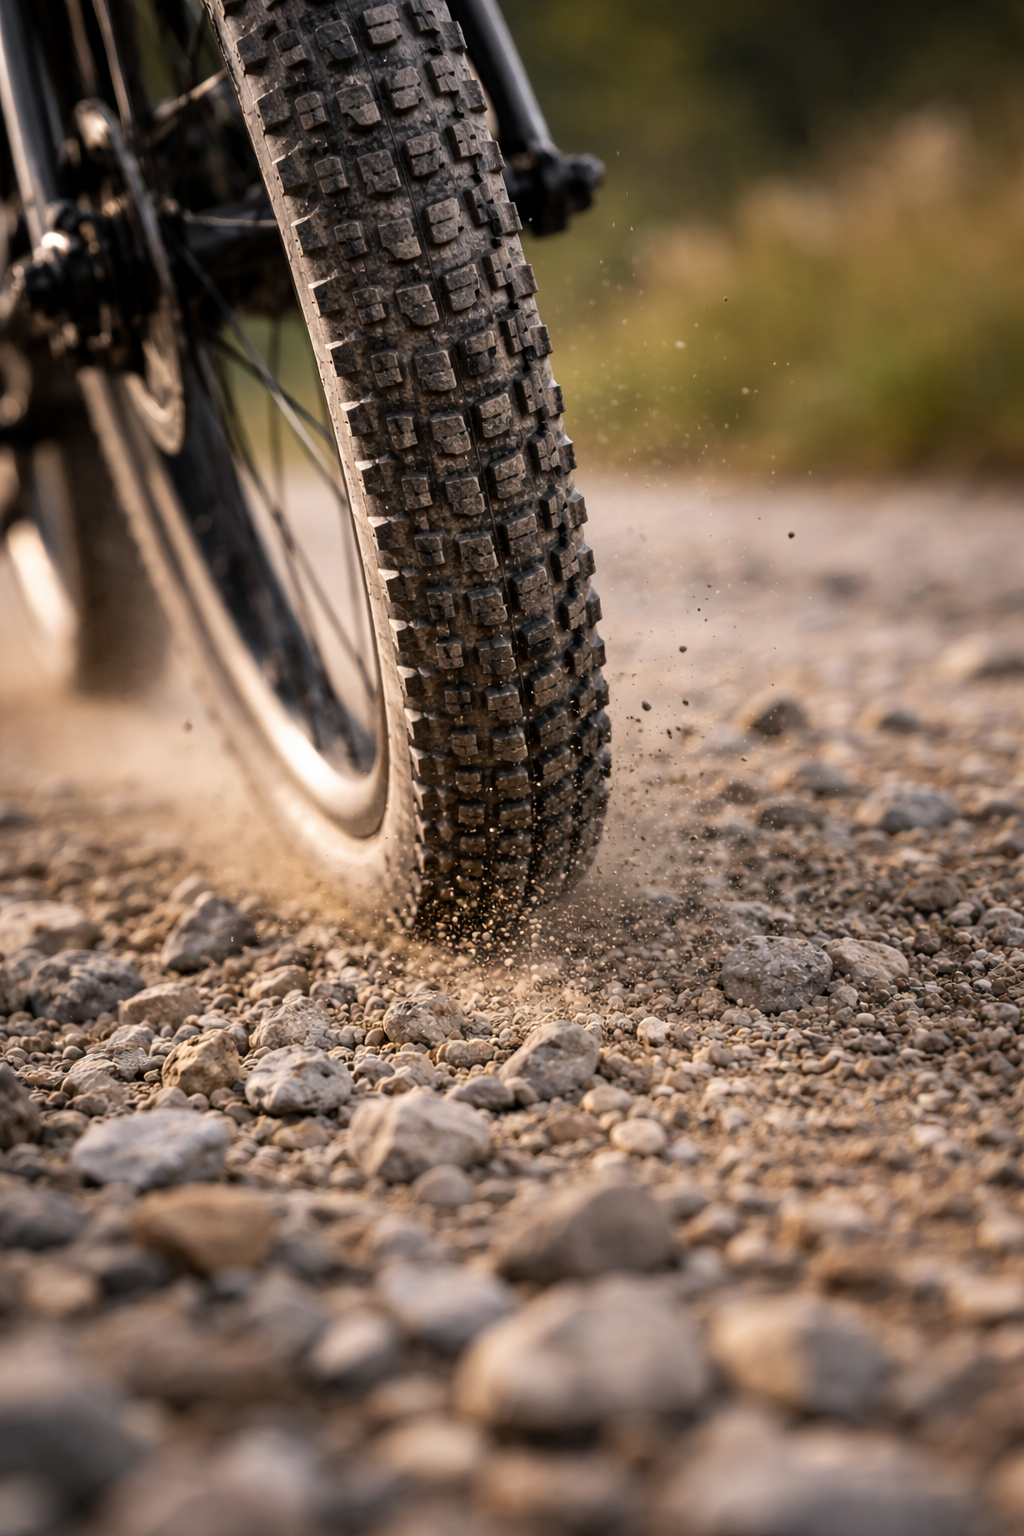
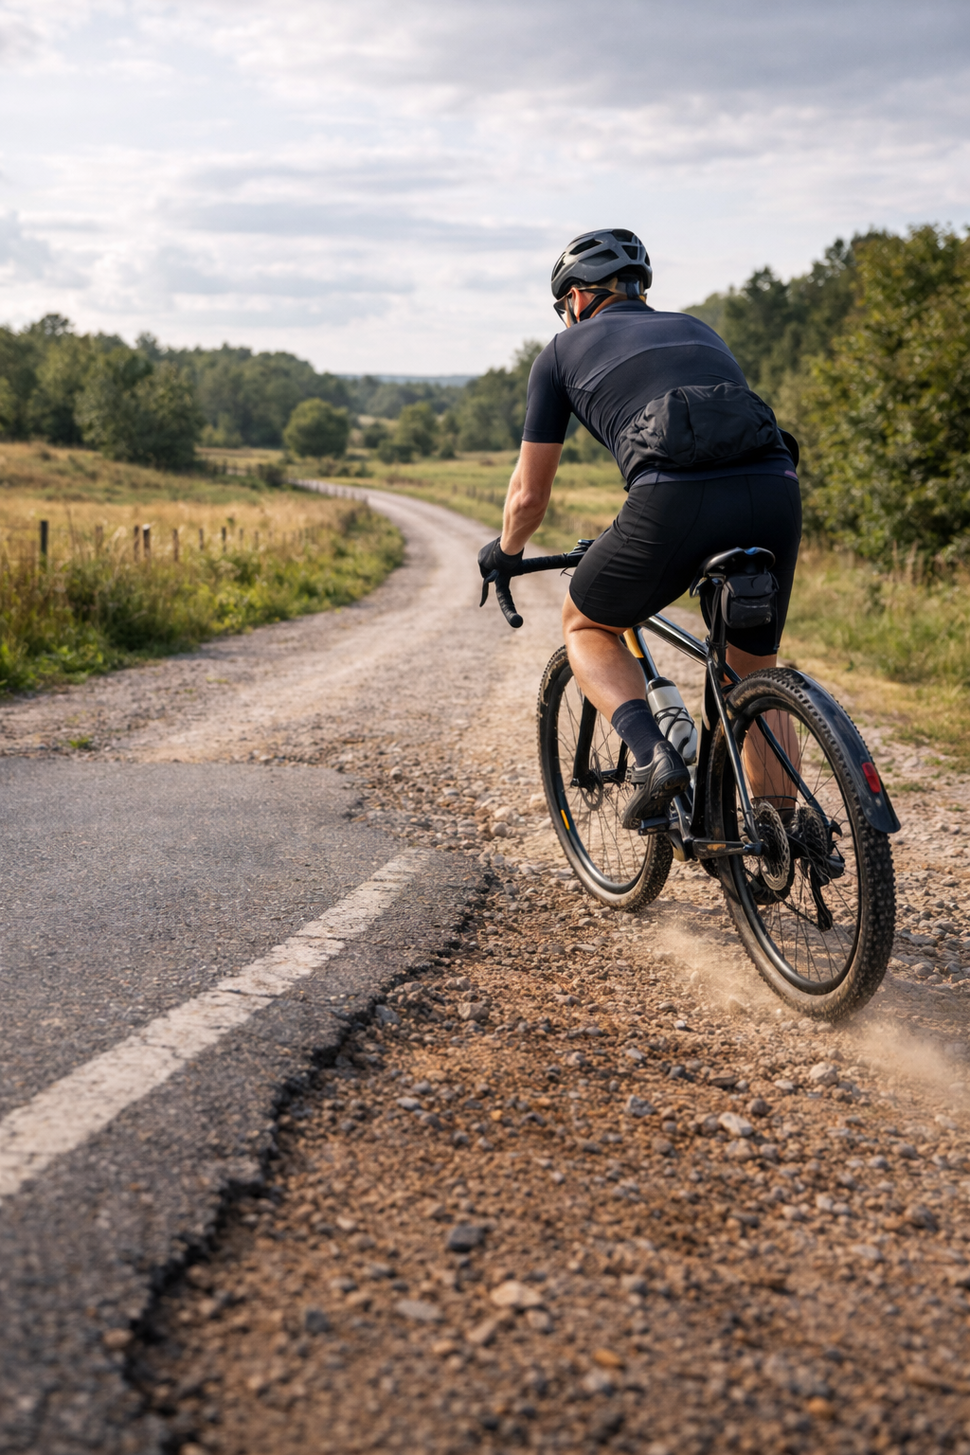
Core Gravel Riding Techniques for Road Cyclists
The engine is familiar, but the handling is different. These gravel riding techniques will shorten the learning curve and make your rides safer and faster.
1) Relax Your Upper Body and Let the Bike Move
On pavement, a stiff, aerodynamic posture can feel fast. On gravel, tension makes the bike twitchy. Keep a light grip, soft elbows, and allow the bike to “dance” under you while your body stays stable.
2) Brake Earlier, Lighter, and More Evenly
Traction is less predictable on loose surfaces. Instead of late, hard braking like you might on road:
- Brake earlier before corners.
- Use smooth pressure rather than grabbing the levers.
- Balance front and rear braking to reduce skids.
If you feel the front tire start to slide, reduce front brake pressure immediately and straighten the bike slightly.
3) Corner With a Slightly More Upright Bike
Road cornering often involves leaning the bike aggressively. On gravel, that can exceed available grip. Try this instead:
- Reduce speed earlier.
- Lean your body more than the bike (subtle, but helpful).
- Keep pressure on the outside pedal and look through the corner.
As confidence builds, you’ll learn how much traction your tires can hold on different surfaces.
4) Choose Lines Like a Mountain Biker (But Stay Smooth)
Road to gravel cycling is often a line-choice game. Scan ahead and aim for:
- Firm, lighter-colored hardpack over deep, loose gravel
- Shallow angles when crossing ruts
- Predictable surfaces rather than the “fastest-looking” shortcut
Smooth steering inputs matter. Sudden turns and abrupt braking are what cause most slips.
5) Climbing: Stay Seated and Keep Cadence High
Loose climbs punish big torque. A seated position keeps weight over the rear tire for traction. Shift earlier than you think, keep cadence up, and avoid sharp accelerations mid-climb.
What to Wear and Carry for Gravel (It’s Not Just Road Kit)
Gravel rides often mean temperature swings, unexpected wind, and longer gaps between resupply points. Your cycling clothing strategy should prioritize layering, storage, and durability.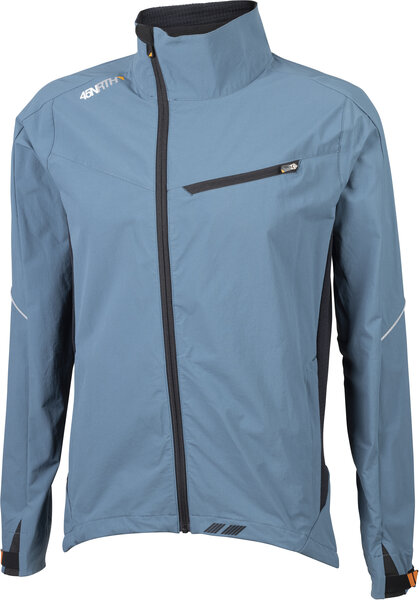
Clothing Priorities for Gravel
- Layers: A packable gilet or light jacket goes a long way on exposed roads.
- Pockets and carrying capacity: Cargo bibs or jerseys with secure storage help on longer routes.
- Eye protection: Dust, grit, and bugs are more common off pavement.
- Gloves: Reduce fatigue and improve grip on rough surfaces.
Tools and Spares to Bring
- Tubes (even if tubeless), plugs, and a pump/CO₂
- Multi-tool and quick link
- Small first-aid essentials for remote routes
- Extra food and electrolytes
Fueling and Hydration: Gravel Rides Are Often Longer Than Planned
One of the classic gravel experiences is “just one more road” turning into an extra hour of exploring. Because stops can be limited, plan fuel earlier and more consistently than you might on the road.
Stock up on reliable nutrition products and aim for steady intake throughout the ride. Practical guidelines:
- Start fueling early: Don’t wait until you feel empty.
- Bring more than you think: Especially on unfamiliar routes.
- Hydrate consistently: Gravel often means more effort spikes and more sun exposure.
If you’re riding remote, consider adding an extra bottle or a hydration solution for long stretches between refills.
A Simple 4-Week Plan for Switching From Road to Gravel Cycling
If you want confidence quickly, structure helps. Here’s a straightforward plan to make switching to gravel bike riding feel natural.
Week 1: Skills First (Low Stakes)
- Choose a smooth gravel path.
- Practice braking earlier and cornering slower.
- Experiment with tire pressure (small changes each ride).
Week 2: Add Variety
- Include a route with mixed surfaces (pavement + gravel).
- Practice line choice: avoid deep gravel, find firm lines.
- Do a short descent focusing on relaxed hands and soft elbows.
Week 3: Build Endurance + Carry Gear
- Extend the ride length by 20–30%.
- Carry tools, spares, and extra nutrition.
- Practice riding at steady tempo on rougher sections.
Week 4: Confidence Ride
- Pick a “destination” ride—new roads, a café, or a loop you’ve avoided.
- Focus on smoothness and consistency, not speed.
- Make one upgrade based on what you learned (tires, bar tape, pedals, etc.).
This progression keeps risk low while steadily expanding your skill set and comfort.
Common Mistakes Road Cyclists Make on Gravel (And How to Fix Them)
- Too much tire pressure: Lower pressure improves grip and comfort. Adjust gradually.
- Death grip on the bars: Relax your hands; let the bike track naturally.
- Braking late into corners: Brake early, then roll through smoothly.
- Over-leaning: Keep the bike a touch more upright and focus on balance.
- Under-fueling: Gravel rides can be longer and more demanding—carry extra.
When It’s Time to Upgrade to Gravel for Real
After a few rides, you’ll know whether gravel is an occasional detour or your new favorite discipline. If you’re consistently riding rough surfaces, consider upgrading to gravel with changes that deliver the biggest returns:
- Better tires (tread + width matched to terrain)
- Tubeless setup for fewer flats and lower pressures
- Comfort and control upgrades (bar tape, flared bars, gloves)
- Pedal/shoe system suited to mixed terrain and walkability
- Gearing that supports seated spinning on steep gravel climbs
The goal isn’t to “MTB-ify” your ride—it’s to build a balanced setup that feels fast on pavement and confident on dirt.
Call to Action: Get Ready for Your First Real Gravel Season
If you’re ready to turn curiosity into confidence, start with the essentials: choose the right gravel bike (or adapt your current road bike), pick terrain-appropriate gravel tires, and refine your setup using the gravel bike setup tips above. Then, practice the key gravel riding techniques—relax, brake early, and ride smooth.
Explore gravel-ready gear and upgrades today: from clipless pedals to durable cycling clothing and ride-long nutrition products. When you’re ready for a comfort-focused performance platform, check out options like the Giant Defy Advanced Pro 1 and Specialized Roubaix Comp to bridge the gap between road speed and rough-road capability.
Your next favorite route probably starts where the pavement ends—go find it.
Recent articles
View all
The Ultimate Guide to Gravel Bikes: Everything You Need to Know Before Buying
Best Gravel Riding Routes and Adventures in Ontario: A Complete Guide for Canadian Gravel Cyclists