How to Set Up Your Indoor Bike Trainer: Complete Step-by-Step Guide
Why a proper indoor bike trainer setup matters
A good indoor trainer setup makes riding safer, quieter, and more comfortable—and it improves data accuracy if you’re using a power meter or smart trainer. Most problems people blame on the trainer (noise, tire slip, shifting issues, inconsistent power) actually come from small setup mistakes: the wrong axle adapter, a loose skewer, poor roller tension, or skipping trainer calibration.
This guide walks you through how to set up a bike trainer from unboxing to your first ride. It covers both wheel on trainer setup and direct drive setup, with practical tips that apply to nearly every brand.
Before you start: what you’ll need
Tools and parts
- Bike trainer (wheel-on or direct drive), plus any included axle adapters
- Bike (road, gravel, or MTB—confirm compatibility first)
- Trainer skewer (usually included for wheel-on trainers; do not use lightweight carbon skewers)
- Cassette (direct drive trainers often require you to install one)
- Cassette lockring tool and chain whip (for cassette install)
- Allen keys (common sizes: 4, 5, 6 mm)
- Torque wrench (recommended for through-axle bikes and cassette lockrings)
Floor protection and comfort
- Mat to protect flooring and reduce vibration (a trainer-specific mat helps). Example: Saris Trainer Mat.
- Fan (a strong fan is the single best comfort upgrade)
- Towel (sweat can damage bolts and bearings over time)
- Water bottle and a stable table/shelf nearby
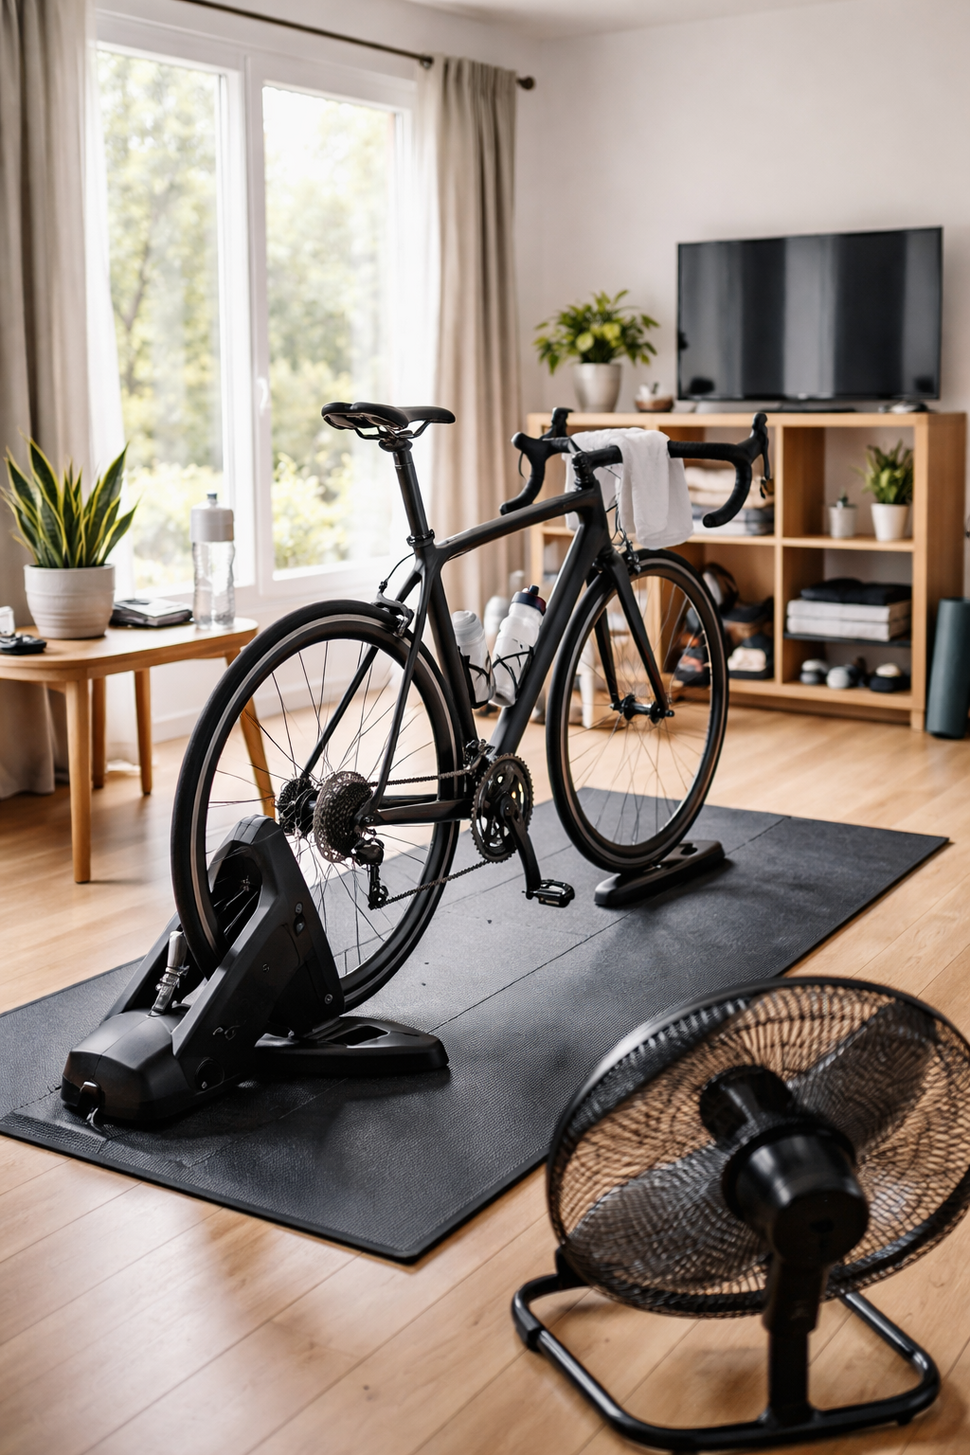
Step 1: Choose the right space
Pick a spot with good airflow, stable flooring, and enough room to mount/dismount safely. Leave space for the bike to sway slightly and for you to stand up without hitting a wall. If you’re on hardwood or laminate, use a mat to prevent scuffs and to keep sweat off the floor.
Place your fan in front and slightly to the side so it hits your chest and face. Set up any screens (tablet, laptop, TV) at eye level to avoid neck strain.
Step 2: Confirm your bike and trainer are compatible
Compatibility issues are the most common cause of frustration during bike trainer installation. Confirm these items before you tighten anything:
- Axle type: quick release (QR) vs. through-axle (12x142, 12x148 Boost, etc.)
- Wheel size and tire clearance: important for wheel-on trainers
- Drivetrain: number of speeds (9/10/11/12), cassette type (HG, Micro Spline, XDR), and derailleur capacity
- Brake type: disc brakes are fine, but be mindful of rotor clearance during mounting
If you’re shopping for a compatible unit, browse Indoor Trainers or focus on connected options in Smart Trainer.
Step 3: Unbox and assemble the trainer
Most trainers arrive partially assembled. Follow the manufacturer’s order of operations, but these steps are typical:
- Open and lock the legs/stance until the trainer is fully stable.
- Install feet levelers (if included). Adjust until the trainer doesn’t rock.
- Identify axle adapters and keep them nearby (QR cups, through-axle end caps, Boost spacers).
- Plug in power for smart trainers, but wait to pair it until after the bike is installed.
If anything feels gritty, cross-threaded, or overly tight, stop and re-check alignment. Forcing parts is a quick way to damage the trainer.
Step 4: Wheel-on trainer setup (most common steps)
A wheel-on trainer presses a roller against your rear tire. Your goals are: secure clamping at the axle, correct roller tension, and the right tire pressure for consistent resistance.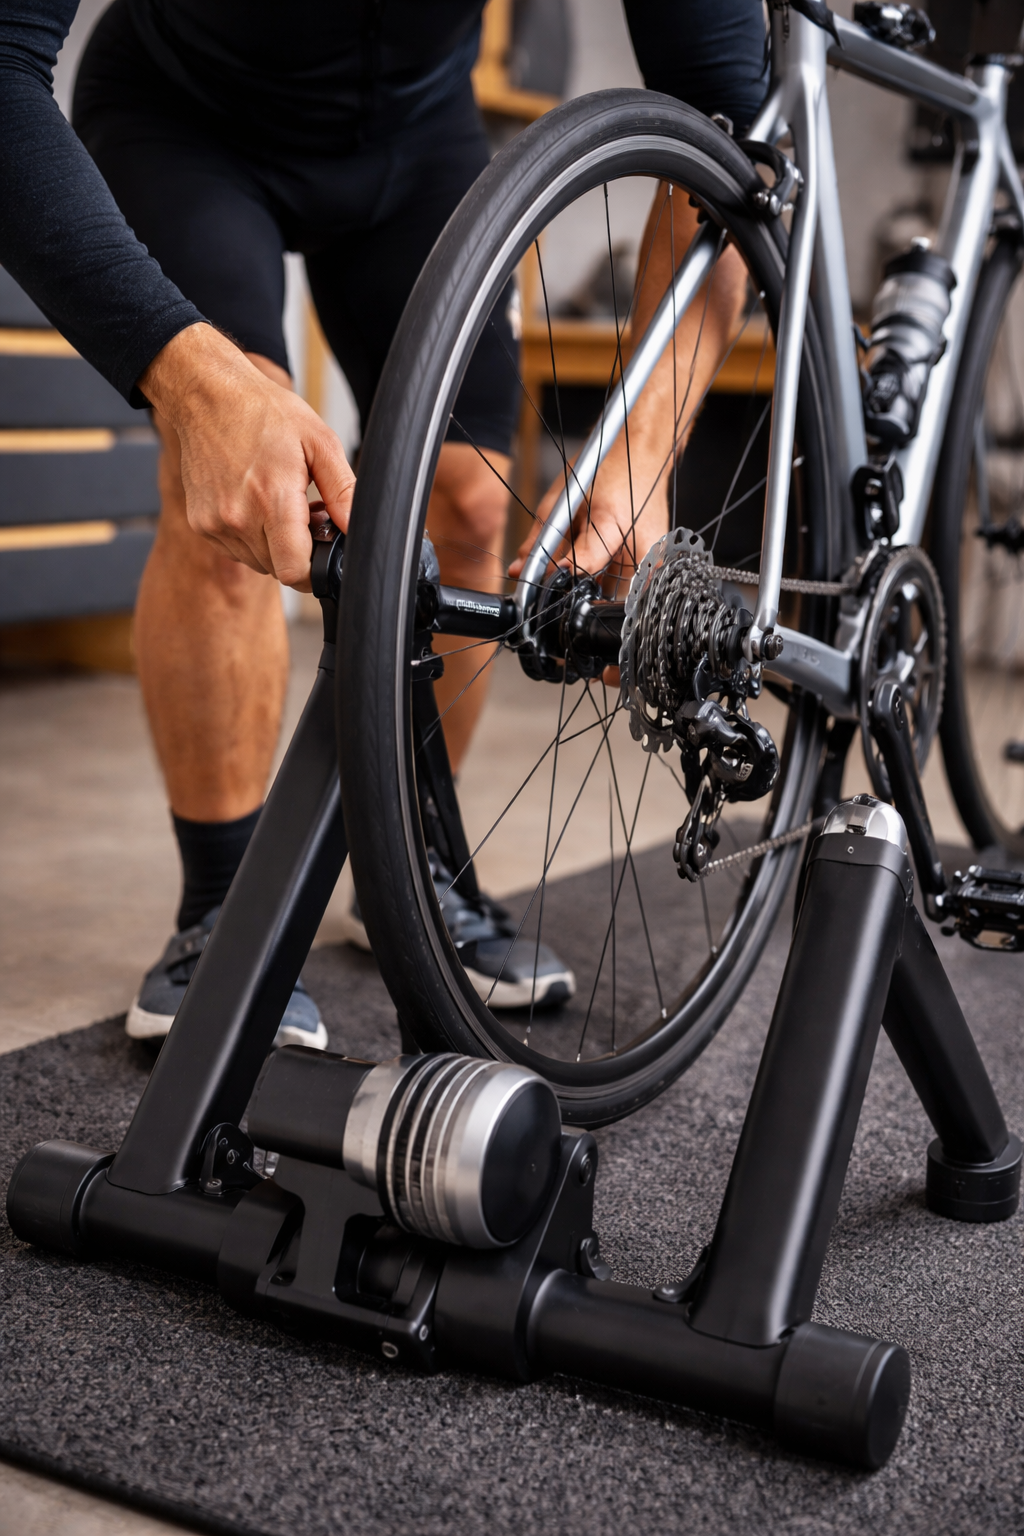
4.1 Install the trainer skewer (QR bikes)
- Remove your existing rear skewer.
- Install the trainer skewer (it has harder, shaped ends designed to sit safely in the trainer cups).
- Tighten the skewer so the rear wheel is secure in the bike frame as normal.
Important: Do not clamp a wheel-on trainer on delicate or lightweight skewers. Use the skewer supplied with the trainer whenever possible.
4.2 Mount the bike into the trainer
- Open the trainer’s clamp mechanism.
- Guide the rear axle into the trainer’s cups or clamps.
- Tighten until the bike cannot shift side-to-side at the axle.
Once mounted, hold the saddle and gently rock the bike. There should be minimal play at the clamp point.
4.3 Set tire pressure and roller tension
Consistency matters more than the exact number. A reliable starting point:
- Inflate the rear tire to your typical road pressure (or slightly lower if traction is an issue).
- Bring the roller to the tire until it just touches, then tighten an additional number of turns as specified by the trainer manufacturer.
Too little tension causes tire slip during hard efforts. Too much tension increases noise, accelerates tire wear, and can damage the trainer roller or tire casing.
4.4 Use the right tire
For the quietest experience and best durability, use a dedicated trainer tire or an older rear tire you don’t mind wearing out. Soft, knobby MTB tires tend to be loud and can slip more easily.
Step 5: Direct drive setup (remove wheel, mount to trainer)
Direct drive trainers replace your rear wheel. They’re usually quieter and more consistent for power and resistance control, but setup can take a bit longer because you may need to install a cassette and select the correct axle adapters.
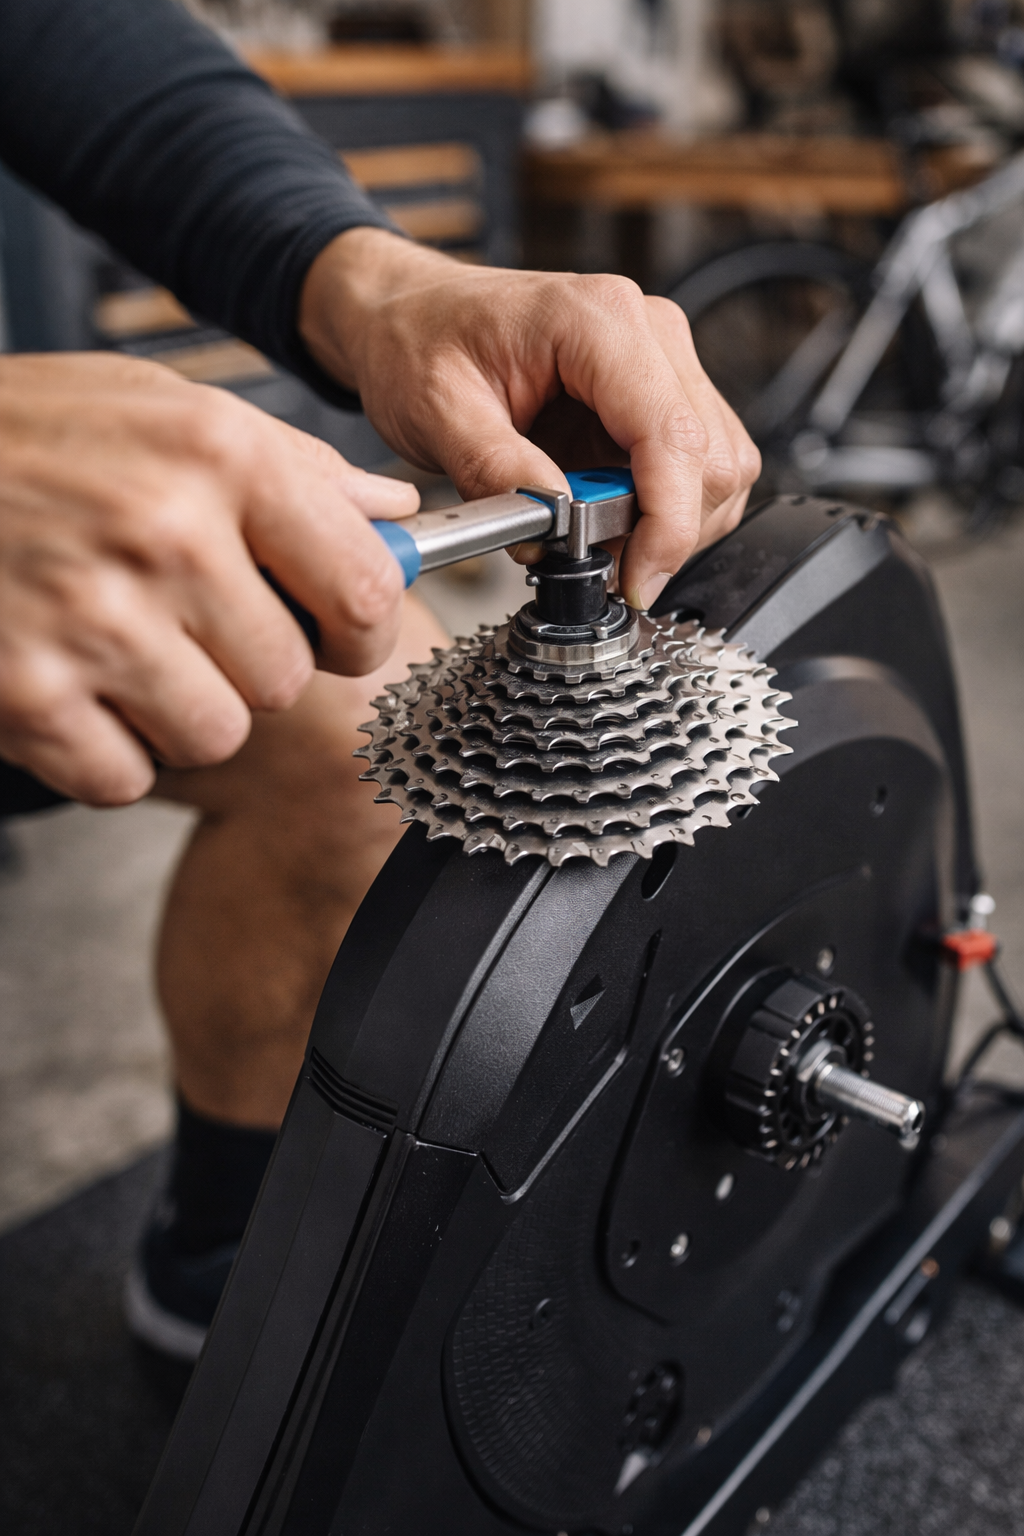
5.1 Install the cassette (if required)
- Confirm your trainer freehub standard (HG, Micro Spline, or XDR/XD) matches your bike.
- Slide the cassette cogs onto the freehub in the correct order (align the narrow spline).
- Thread the lockring by hand first to avoid cross-threading.
- Tighten the lockring with a cassette tool to the manufacturer’s torque spec.
If you’re moving a cassette from your wheel to the trainer, keep track of any spacers. A missing spacer is a common reason for poor shifting.
5.2 Fit the correct axle adapters
Most direct drive trainers come with end caps for QR and common through-axle standards. Install the correct end caps for your frame spacing (e.g., 142 vs. 148 Boost). If your bike uses a through-axle, you’ll also use your bike’s axle to secure it (unless the trainer includes a compatible axle).
5.3 Mount the bike
- Shift your bike into the smallest rear cog before removing the wheel (easier chain handling).
- Remove the rear wheel.
- Place the chain on the trainer cassette.
- Lower the bike into position and insert/tighten the QR skewer or through-axle to spec.
Spin the cranks by hand. The drivetrain should run smoothly without skipping, rubbing, or loud clicking.
5.4 Check shifting and indexing
It’s normal to need a small barrel adjuster tweak when switching between your wheel and trainer, especially if the cassette spacing differs slightly. If shifting is noisy or hesitant:
- Confirm the cassette is fully seated and the lockring is tight.
- Check that you have the correct spacer(s) behind the cassette.
- Micro-adjust the rear derailleur indexing using the barrel adjuster in small increments.
Step 6: Level the bike and dial in fit
A stable, level bike feels better and reduces strain.
- Level the trainer using adjustable feet if available.
- Front wheel height: Some setups feel best with a slight front wheel riser (especially wheel-on trainers). The goal is a neutral, natural riding position.
- Re-check saddle height if you changed tire size or wheel configuration (direct drive vs. rear wheel installed).
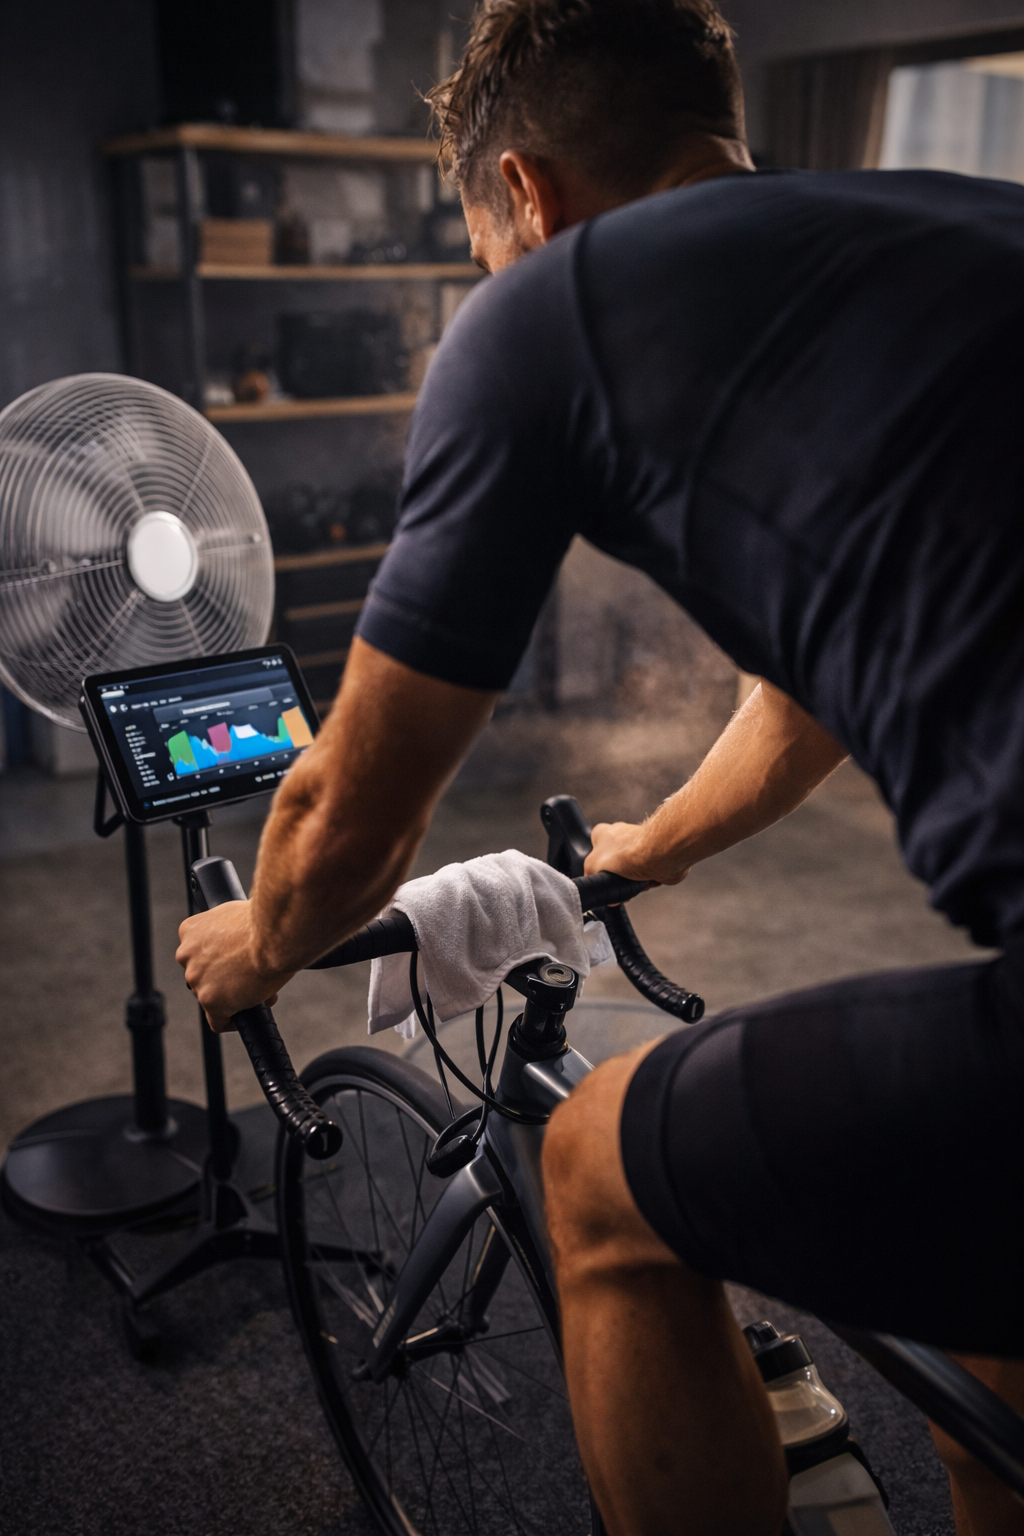
Step 7: Smart trainer setup (pairing, updates, and sensors)
If you have a smart trainer, you’ll typically connect via Bluetooth or ANT+ to a training app, head unit, or computer. A clean connection and up-to-date firmware prevent many headaches.
7.1 Update firmware
Use the trainer manufacturer’s app to check for firmware updates. Do this before a workout, not five minutes after you’re warmed up.
7.2 Pair correctly (and avoid double connections)
- Pair the trainer to one primary device first (your training app or head unit).
- If your trainer supports multiple Bluetooth channels, you can connect additional devices, but avoid pairing the same control channel twice.
- Disable Bluetooth on nearby devices that may auto-connect and steal the signal.
7.3 Decide what controls resistance
Most apps offer modes like ERG (holds a target power), resistance, slope/simulation, or standard. Make sure only one system is “in charge” of resistance. If you also have a power meter, choose whether your app will use trainer power or power meter power for best consistency.
Step 8: Trainer calibration (spindown and zero offset)
Trainer calibration is the step that turns “it seems close” into reliable data. The goal is consistent power and resistance behavior, workout to workout.
8.1 When to calibrate
- After initial bike trainer setup
- After moving the trainer to a different room/temperature
- After changing roller tension (wheel-on) or making hardware changes
- Whenever power seems unusually high/low or unstable
8.2 How to do a spindown (general process)
- Warm up 10–15 minutes (important for wheel-on trainers).
- Open your trainer’s calibration tool in the manufacturer app or training app.
- Accelerate to the target speed/power.
- Stop pedaling and let it coast while the app measures deceleration.
- Save the calibration result.
Follow your trainer’s exact instructions—some newer trainers use automatic calibration or require a specific warm-up procedure.
Step 9: Safety checks before your first ride
- Axle secure: QR lever closed firmly or through-axle tightened to spec.
- Trainer stable: no rocking, feet level, mat flat.
- Brakes clear: no rotor rub caused by misalignment when clamped.
- Drivetrain smooth: no skipping under light load.
- Cables and sweat protection: towel placed to protect headset/top tube, fan running.
Common bike trainer setup problems (and quick fixes)
Excessive noise
- Wheel-on: check roller tension (too tight can be loud), tire pressure consistency, and consider a trainer tire.
- Direct drive: check cassette tightness and drivetrain cleanliness; many “trainer noises” are actually a dry chain.
- Use a mat to reduce vibration through the floor.
Tire slipping (wheel-on)
- Increase roller tension slightly.
- Raise tire pressure to a consistent baseline.
- Wipe the tire and roller (dust/sweat film can reduce grip).
Inaccurate or inconsistent power
- Do a proper warm-up, then run trainer calibration.
- Maintain consistent tire pressure and roller tension (wheel-on).
- Update firmware and ensure only one app/device is controlling resistance.
Poor shifting on a direct drive trainer
- Confirm correct cassette and spacers.
- Ensure the bike is fully seated in the trainer dropouts/end caps.
- Fine-tune indexing with the rear derailleur barrel adjuster.
Maintenance tips to keep your indoor trainer setup running smoothly
- Wipe down the bike and trainer after rides (sweat is corrosive).
- Clean and lube the chain more often than you do outdoors.
- Check bolts and clamps periodically for tightness.
- Recalibrate occasionally, especially with temperature changes.
If you want guidance on structuring your training once everything is installed, see Tips For Off Season Indoor Bike Trainer Workouts.
Wheel-on vs. direct drive: which setup is easier?
For many riders, a wheel-on trainer setup is faster day-to-day because you keep the rear wheel on—just clamp and set roller tension. A direct drive setup takes longer initially (cassette, adapters, indexing), but it’s often quicker once dialed and typically offers a quieter ride with more consistent resistance.
Either way, the best results come from repeatable steps: consistent tire pressure and tension on wheel-on trainers, correct cassette/spacer alignment on direct drive, and regular trainer calibration for accurate training.
Final checklist: indoor trainer setup in under 2 minutes
- Trainer legs locked and stable; mat in place.
- Bike clamped securely (QR/through-axle correct).
- Wheel-on: tire pressure set and roller tension consistent.
- Direct drive: cassette tight, shifting smooth.
- Fan on, towel ready, fluids within reach.
- Smart trainer paired; resistance mode confirmed.
- Calibration completed if needed.
With the basics done right, indoor riding becomes the reliable, low-friction option it’s meant to be—whether you’re doing easy spins, structured intervals, or winter base miles.
Recent articles
View all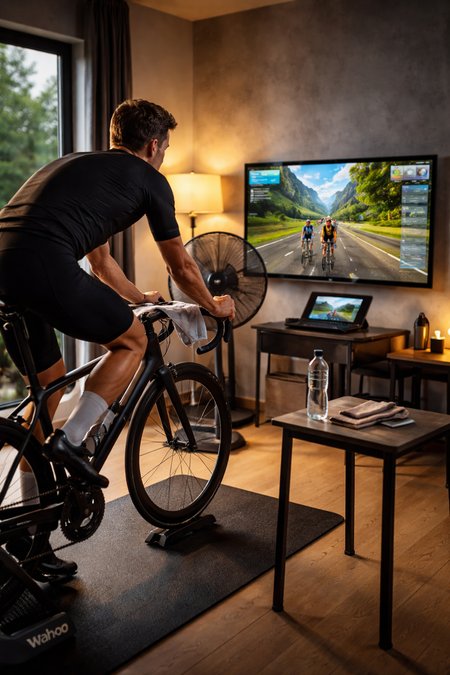
Best Indoor Cycling Apps for Smart Trainers: Zwift, TrainerRoad, and More

Making the Switch: How Road Cyclists Can Master Gravel Riding